
Leak Tracing
Commercial Roof Leak Tracing
Interior photos and measurements are tied to roof landmarks, moisture meters check the surface, an infrared scan at dusk finds wet insulation, and controlled water tests confirm the leaking detail.

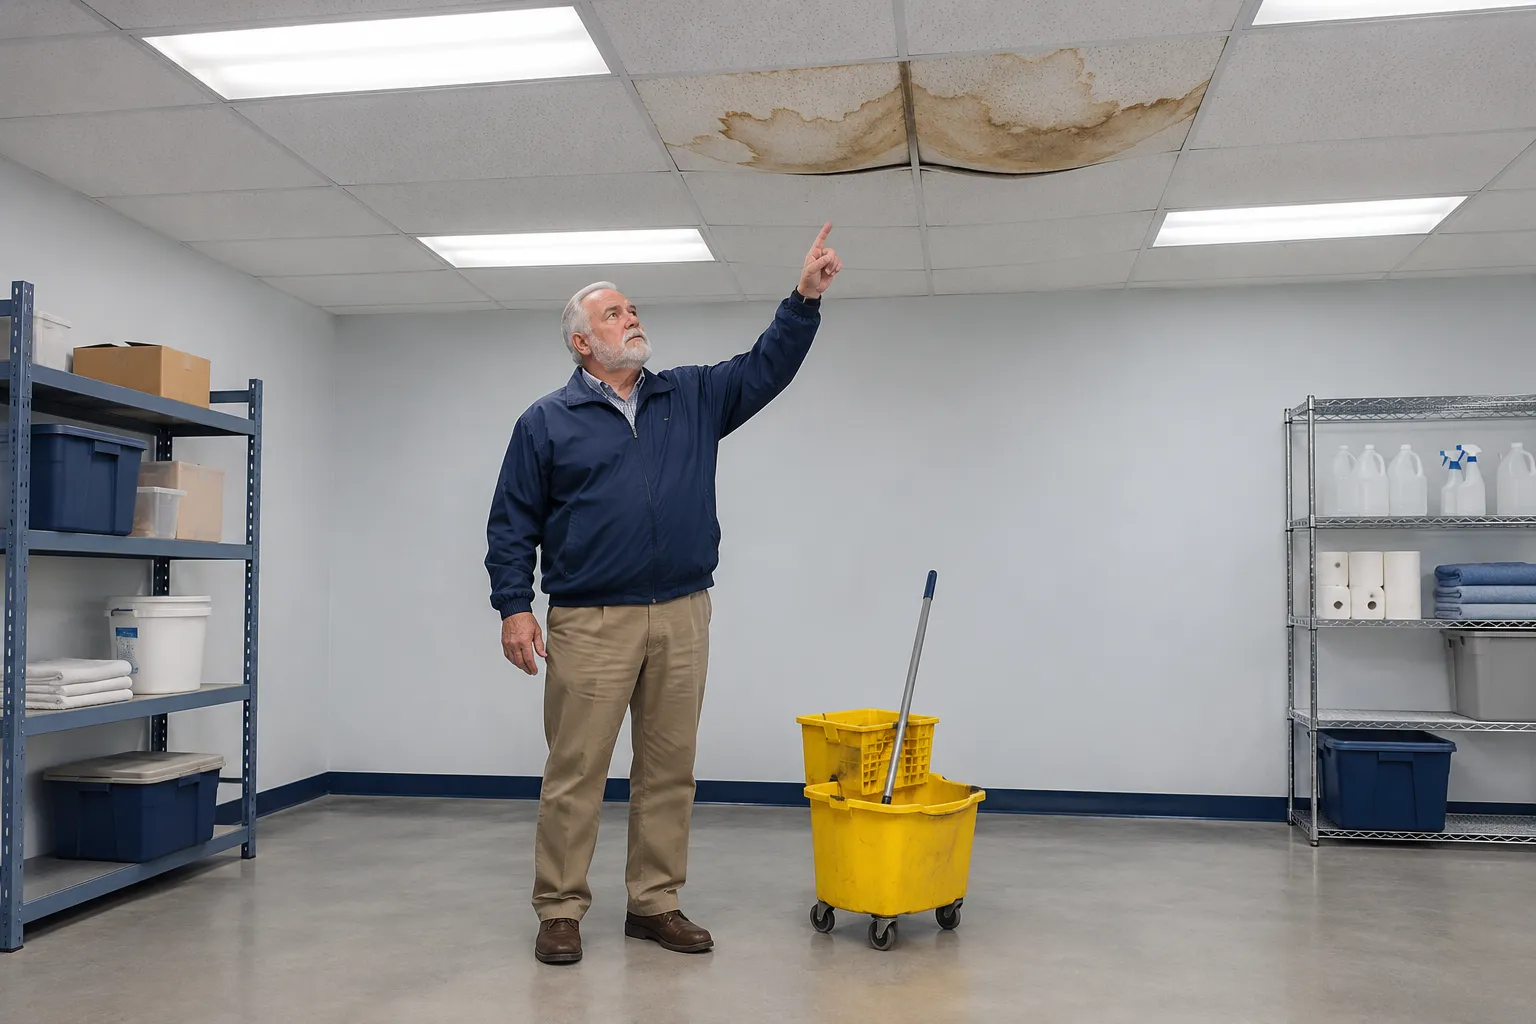
As a Louisville commercial roof leak repair contractor, we trace water from the ceiling stain to the seam, curb, or flashing letting it in, then repair that detail.
A Louisville commercial roof leak repair contractor first decides how big the fix should be, and the answer turns on the entry point and how wet the insulation is.
Leaks leave clues outside, inside, and up top. Each one narrows where the water enters.
When drips match wind from one direction, the parapet, coping, or counterflashing on that side is the suspect.
A dry downspout during rain points to a blocked drain leader, so water is finding another way in.
Water runs along deck flutes and purlins before it drips, so the stain rarely sits under the hole.
Pitch pan filler shrinks and cracks in summer sun, opening a path down sign posts and supports.
Cold welds and open T-joints at TPO curb corners are frequent leak sources on single-ply roofs.
Filler sitting low in a pan around a pipe or support leaves the penetration open to rain.
Flashing pulled loose from the wall lets water run down behind the base flashing.
The right fix depends on what failed and what the weather allows on the day of the repair.
Interior photos and measurements are tied to roof landmarks, moisture meters check the surface, an infrared scan at dusk finds wet insulation, and controlled water tests confirm the leaking detail.

Shallow pans get cleaned and refilled with pourable sealer, low-filled pans are swapped for taller ones, and where possible the penetration moves to a curb or pipe boot.

Open coping joints, cracked masonry above the roof line, counterflashing out of its reglet, and missing ridge closures get repaired on the side the wind hits.
Fixing the true entry point ends the cycle of buckets, ceiling tiles, and repeat patches.
Repairing the confirmed entry point stops that drip, instead of patching every seam and curb that only looked suspect from the roof.
Catching water at the curb or seam early keeps it from spreading through insulation boards, which wick it outward across the deck.
Photos and a leak log tied to roof landmarks speed up any later call, since the likely seams and flashings are already mapped.
Pitch pans refilled or replaced and curbs reflashed close the odd-shaped openings that older commercial roofs collect over the years.
Protect what sits under the drip, photograph the stain, write down the rain and wind, and call us to start tracing.
Call UsSend the address with your leak log or a few notes on when the drip appears, and we will schedule a free inspection.
Schedule Free InspectionLeak tracing works uphill from the drip, one roof detail at a time.
We match each interior drip to the roof above it, then walk every seam, curb, drain, and penetration upslope of that point with your leak log in hand.
Moisture meters on the surface and an infrared scan at dusk show where insulation holds water, which outlines how far the leak has spread under the membrane.
Water runs on a single curb, lap, or wall for a set period while someone watches inside, confirming or ruling out that spot before the next one.
The failed seam, boot, pitch pan, or flashing is cut back, cleaned, and rebuilt with matched material, and any temporary patch nearby is replaced at the same visit.
Photos, the confirmed source, and weather notes go into your leak log, so a future drip near that curb or seam can be traced in a fraction of the time.
Once the source is known, the repair often belongs to one of these services.
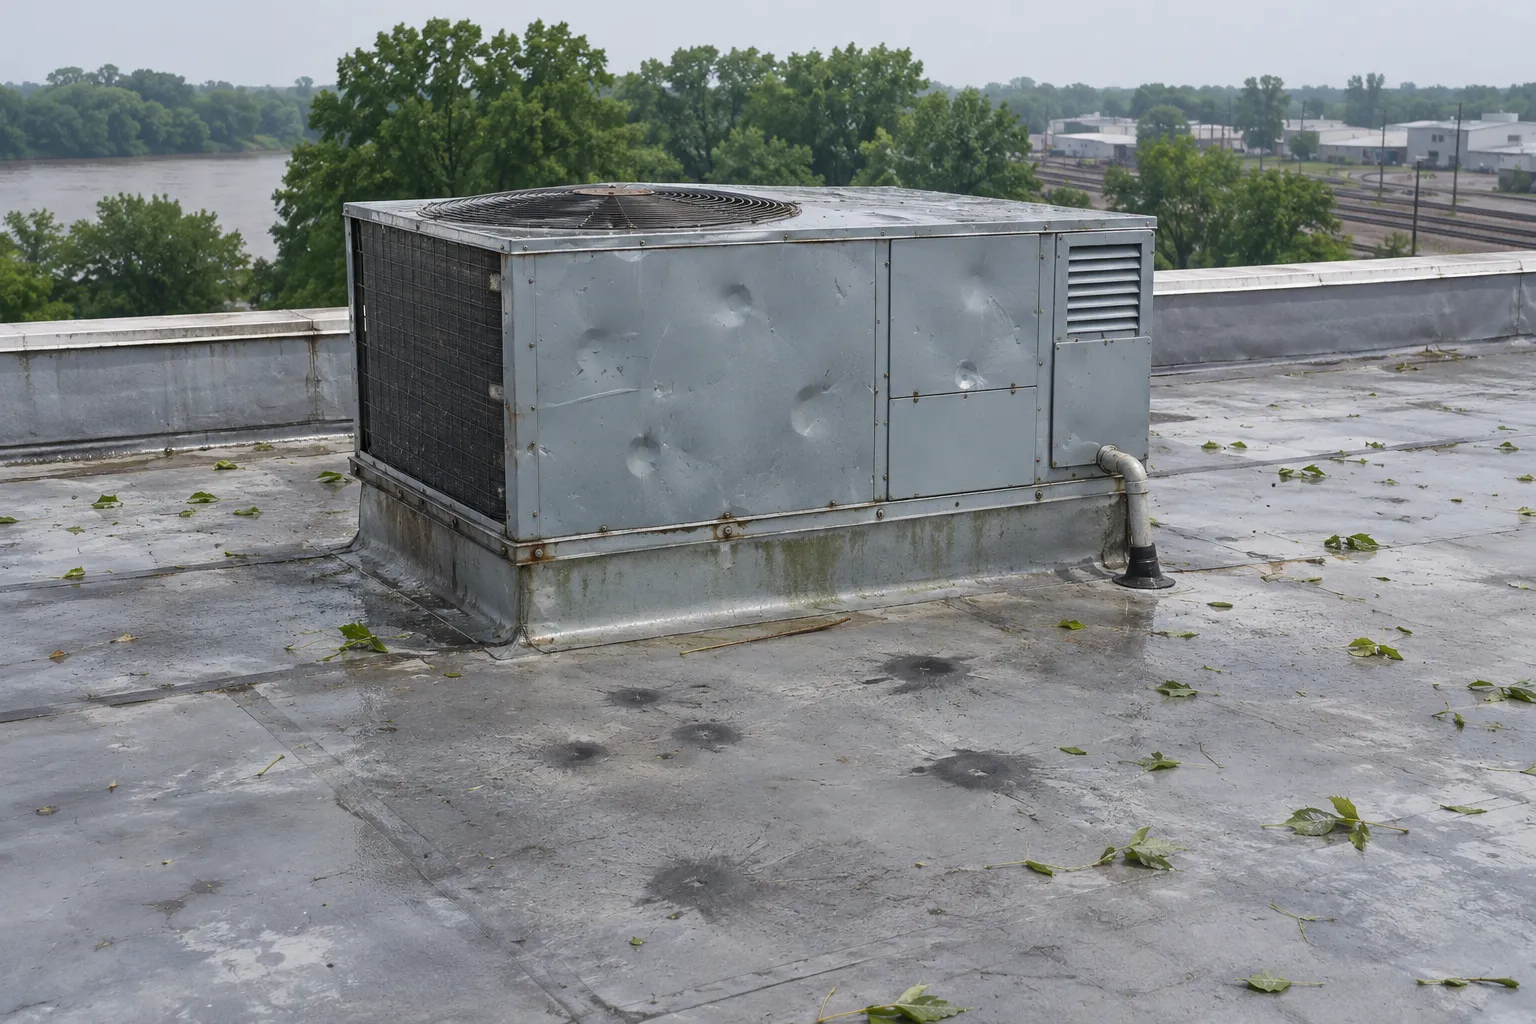
Seam welds, base flashing, and drain resets on TPO, EPDM, modified bitumen, and built-up roofs.
Flat roof repair →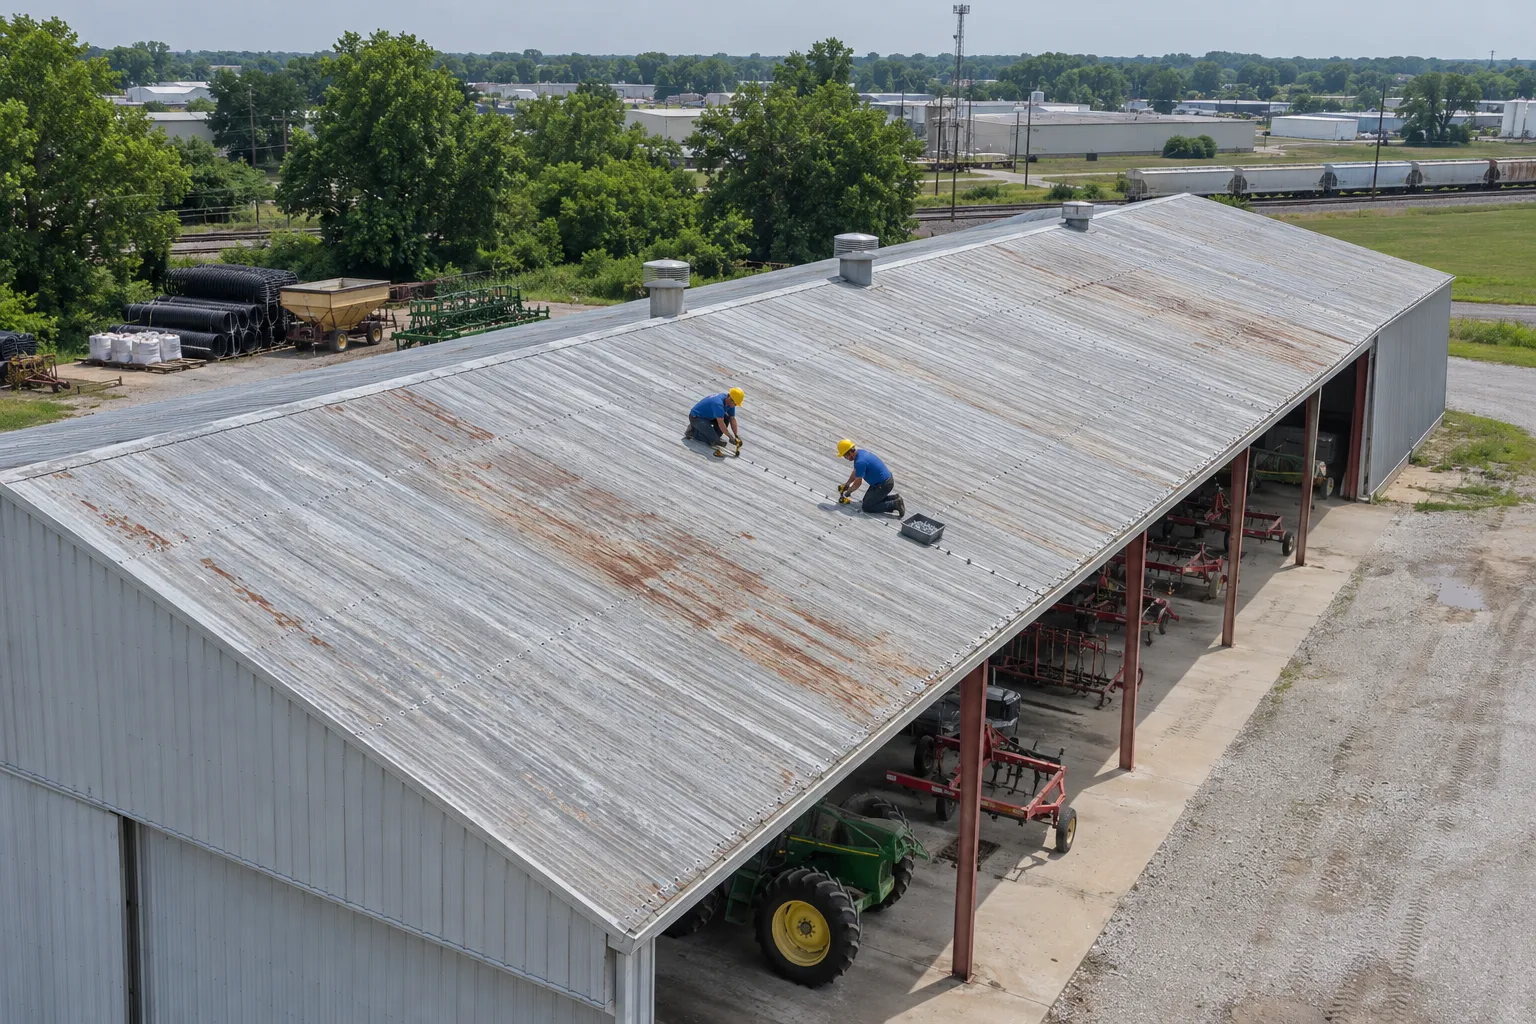
Fastener rows, end laps, rusted panels, and skylight laps on exposed-fastener and standing seam roofs.
Metal roof repair →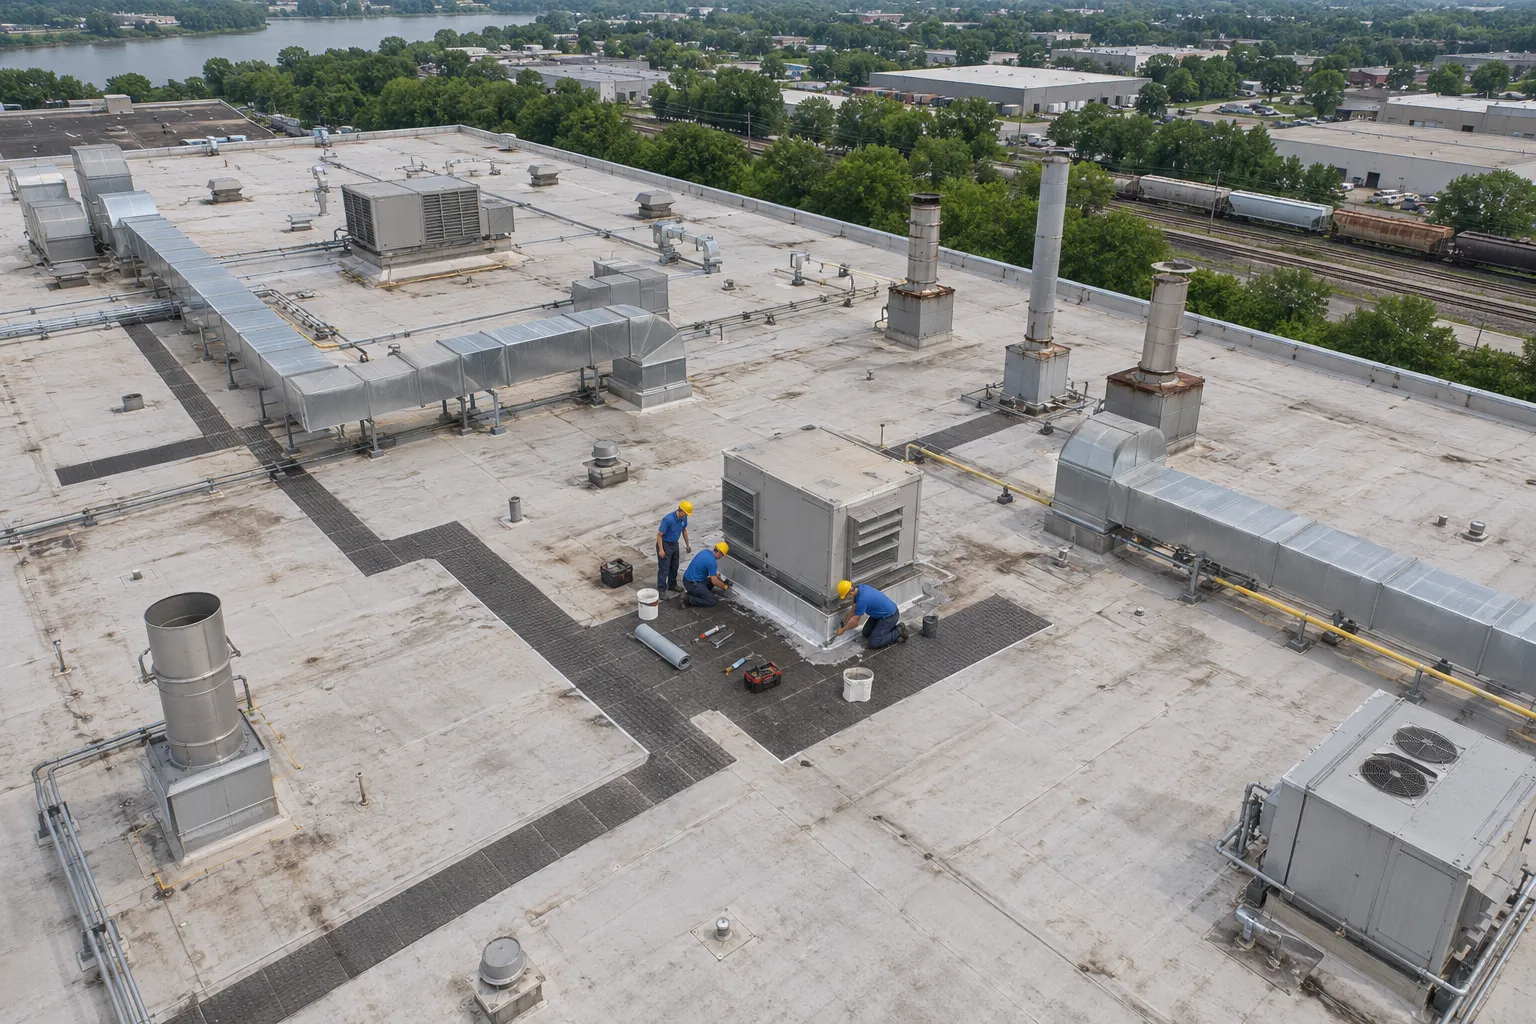
Plant roofs with exhaust damage, punctures along walk paths, and repairs staged around production.
Industrial roof repair →What owners and facility managers ask once a leak shows up.
It starts by matching the inside drip to the roof above, then checking every seam, curb, and penetration upslope of that point. Leak logs and weather notes speed it up. Tools include interior photos tied to roof landmarks, moisture meters, infrared scans at dusk, and controlled water tests on one detail at a time while someone watches inside.
Protect what sits under the leak, record when and where it appears, and keep people off the roof during storms. Move product and equipment, set buckets and plastic sheeting, photograph the stain, and note the time, rain, and wind direction. From a safe spot, check whether drains are flowing, since clearing a clogged drain sometimes ends a leak.
Yes. On older commercial roofs the filler inside a pitch pan shrinks and cracks, opening a path down the pipe or support it surrounds. A shallow pan can be cleaned and refilled with pourable sealer, a low-filled pan replaced with a taller one, or the penetration moved to a curb or pipe boot.
Wind pushes water sideways into vertical surfaces such as parapet walls, coping joints, and counterflashing, while the membrane itself often stays dry. Check open coping cap joints, cracked mortar above the roof line, counterflashing pulled out of its reglet, and missing ridge closures on metal panels.
Leak sources follow the system. TPO fails at cold-welded seams, T-joints, and curb corners. EPDM fails at lifted seam tape, shrinkage at parapets, and pipe boots. Modified bitumen shows blistered laps and cracked wall flashing, and built-up roofs split over insulation joints. Metal R-panel leaks at fasteners and end laps, standing seam at seam caps and gutter joints.
Bring your leak log or just tell us where the drip lands. We will set up a free inspection and a written estimate for the repair.